Ok, those things can be fixed by editing the nodes. Here's a brief introduction to node editing. (And btw, this is why I said that I would have hand-traced the image with Inkscape's Pen/Bezier tool, rather than use Trace Bitmap. But this is how you learn

)
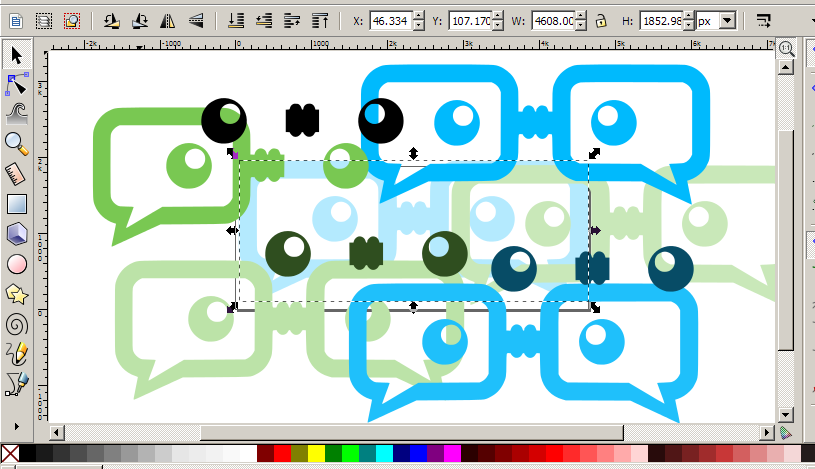
For the top screenshot, select the green object with the Node tool, and you'll be able to see the nodes. You can drag nodes with the Node tool. (It's just like dragging objects with the Selection tool.)
Select a node with the Node tool, and you can see the node handles. You can grab the tiny circle of the node handle, and drag it, to adjust the path.
Since your screenshot doesn't show the nodes, I can't tell you specifically whether you need to drag a node or drag a handle.
For the 2nd screenshot, you may need to add new nodes or change the node type.
To add a new node, you can either select the 2 nodes (where you want the new node to be between) and click the Add Node button on the control bar; or you can double-click on the selected path, and a new node will be placed right there where you double-clicked. (Note that the Node tool pointer will change to a little hand when you're in the correct position to add a node.)
There are 4 kinds of nodes, but generally you'll only use 2 -- smooth nodes and corner/cusp nodes. Corner nodes can have zero, 1 or 2 handles which always move independently. So you have to adjust them one at a time. Smooth nodes always have 2 handles, which always move together. If you move one handle of a smooth node, the other handle moves too.
Sometimes you might need to change the type of node. After you select the node, you can click either "Make selected node smooth" or "Make selected node corner" button on the control bar. (Or there are key shortcuts for every button, if you prefer. You can look them up in Help menu > Key and Mouse Ref.)


