It looks and sounds like you must be using the Paint Bucket tool, to apply the color. The fastest way to close those areas, is also the crudest way. But sometimes, it doesn't matter if it's crude or elegant.
I'll show you how to fix the eye, and then you can use the same process to fix all the places.
2 crude ways:
1 -- Use either Pen/Bezier tool to draw a short but wide path over the gap, or use Calligraphy tool.
2 -- Use the Node tool to drag the nodes so that the 2 ends of the black line are touching
Much better way: (Don't worry - it takes 10 times longer to explain it and read it, than it does to actually do it!)
1 -- Select the black eye outline with the Node tool

2 -- Zoom in close
3 -- The 2 open ends of the eye probably look something like this
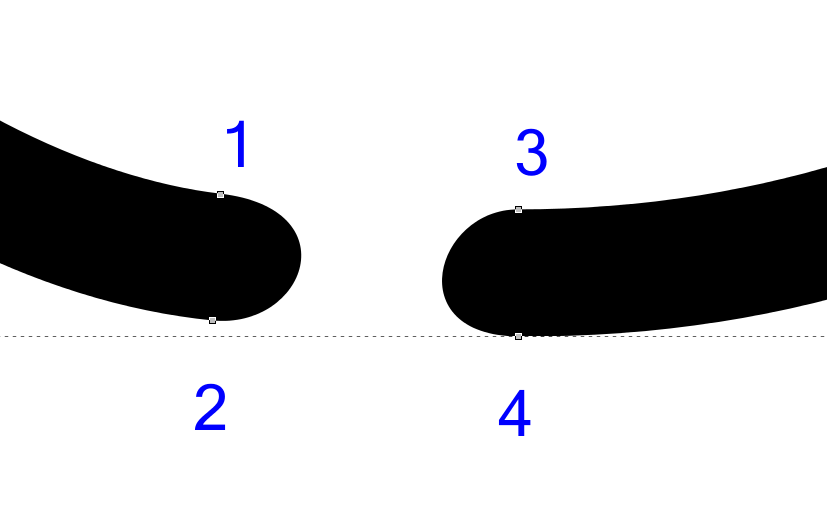
- cp1.png (13.79 KiB) Viewed 631 times
4 -- Click on the path between nodes 1 and 2 (selects 2 nodes) (looks like this)
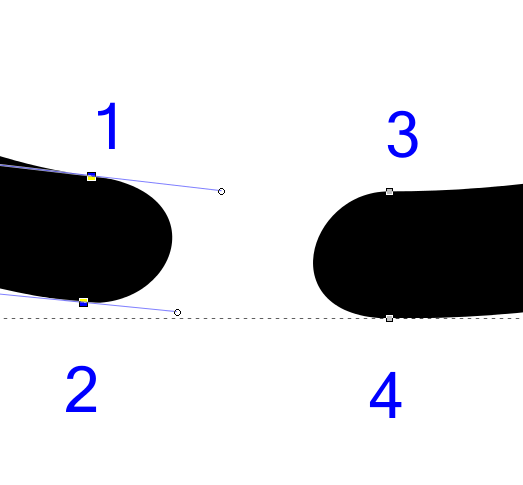
- cp2.png (11.72 KiB) Viewed 631 times
5 -- Hold Shift key, and do the same for nodes 3 and 4 (adds the other 2 nodes to the selection)
6 -- Click "Break path between 2 selected nodes" button on the Node tool control bar (looks like

) (breaks the path in 2 places)
Now might look something like this,
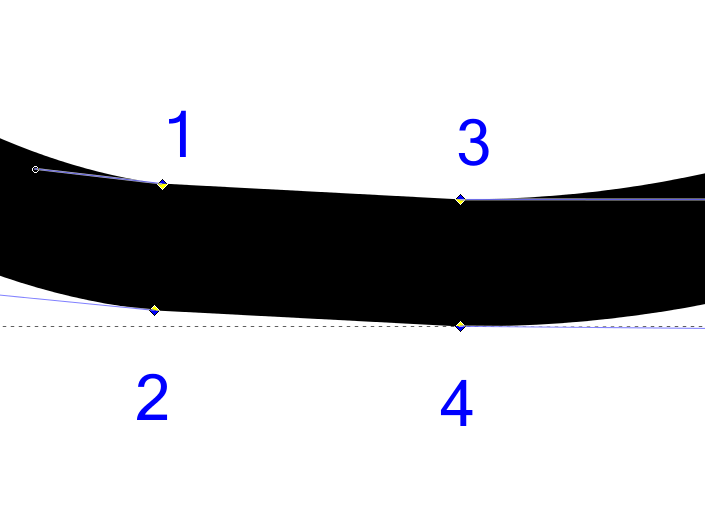
- cp3.png (13 KiB) Viewed 631 times
which looks like just what you need. But you can see that it puts a straight section there, instead of extending the same kind of curve as the rest of the eye. In some cases, it might be good enough to just leave it like it is. But in other situations, it won't work. Here's how to finish the process:
7 -- Click on node 1, hold Shift key, and click on node 3 (selects both of them)
8 -- Click "Join selected nodes with a new segment" button on the Node tool control bar (looks like

)
9 -- Repeat for nodes 2 and 4
At this point, it looks just like it was between steps 6 and 7, but it's not. Next:
10 -- Position the mouse over node 1, hold the Shift key, press the mouse button and drag to the right. (Or if you start with node 3 or 4, drag left.) This will extract the other handle out of the node. The handles are those very thin blue lines with tiny circle on the ends. With the handles, you can adjust the curves. Try it! Just grab one and drag it, and you'll see how it works. So you can make the curve nice and smooth.
When I'm doing node editing like this, sometimes I add a bright colored stroke, to help me understand where the path is. For example, in those places between the hair, the hat, the neck and the shirt/shoulder, the path might be more complicated. (And there must be something on the right, outside your screenshot too, where you might need to edit some nodes.) Hold the Shift key, and click red or pink, or some bright color that's easy to see on the drawing. To remove it later, either use Object menu > Fill and Stroke > Stroke tab, and click the big X button. Or hold Shift, and click the small X box on the left end of the palette.
You can use this process to separate the hair from the eyebrow too, if you like.
Let us know if you run into any problems. Have fun!
