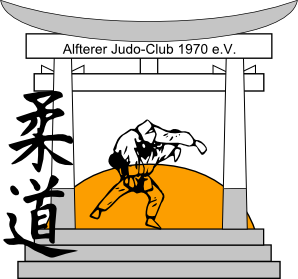
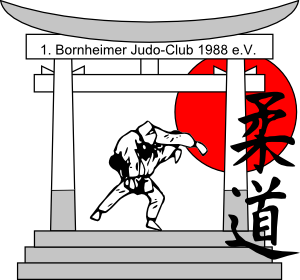
My Judo-Club is just undergoing a lot of changes, one of them was the design of a new logo.
This is how it looks like:

Now, since we want to make T-Shirts for the kids, there'd be need for that logo in a high resolution, or best, as a .svg! That's where i entered the stage and started drawing it with inkscape (great program btw!). Here's the progress so far:

It was quite easy to draw the straight parts like the steps, a bit harder to make the trapezes, and already a bit complicated to make that round roof-thing + having both sides symmetrical. I found the japanese signs for judo on the internet, however, i don't have permission to use them yet without giving credits (which would get difficult for a logo...), if i don't get this, i'll have to redraw that.
Now, like you might have noticed, the two fighters in the middle are still missing in that image. That's because they are the most difficult part
 , making the lines rather thick and a little bit diffuse. I tried to do the legs, the results were not THAT bad, but i'm not that convinced, too... What i'm doing currently is just choosing the pencil tool and drawing a line, but for each new line, i have to change the width and diffuse level over and over again... Is there a way to make standard settings to that, or is there maybe a better way to remodel those fighters? If anyone feels like doing this for me, this would just be so greatly appreciated!!! But since i know this is a lot to demand, i rather ask for tips on how to do it, i want to make it look as good as i can!
I attached my progress, note that we are 2 clubs in one, so there will be two versions of the logo, the one for "alfter" only has another sun, another text and the judo-signs on the left... The old logo is in the file, too, the lowest layer called "altes logo".
If you have any comments or suggestions on other parts of the logo, please let me know those too
Thanks in advance,
Timitry

 and delete any stray nodes inside.
  to fill in where needed. The bucket fill wouldn't cover completely you can use outset under path menu to grow the fill or widen the path boarder to cover. Then hide the ruff edges by lowering the fill around under the outline.