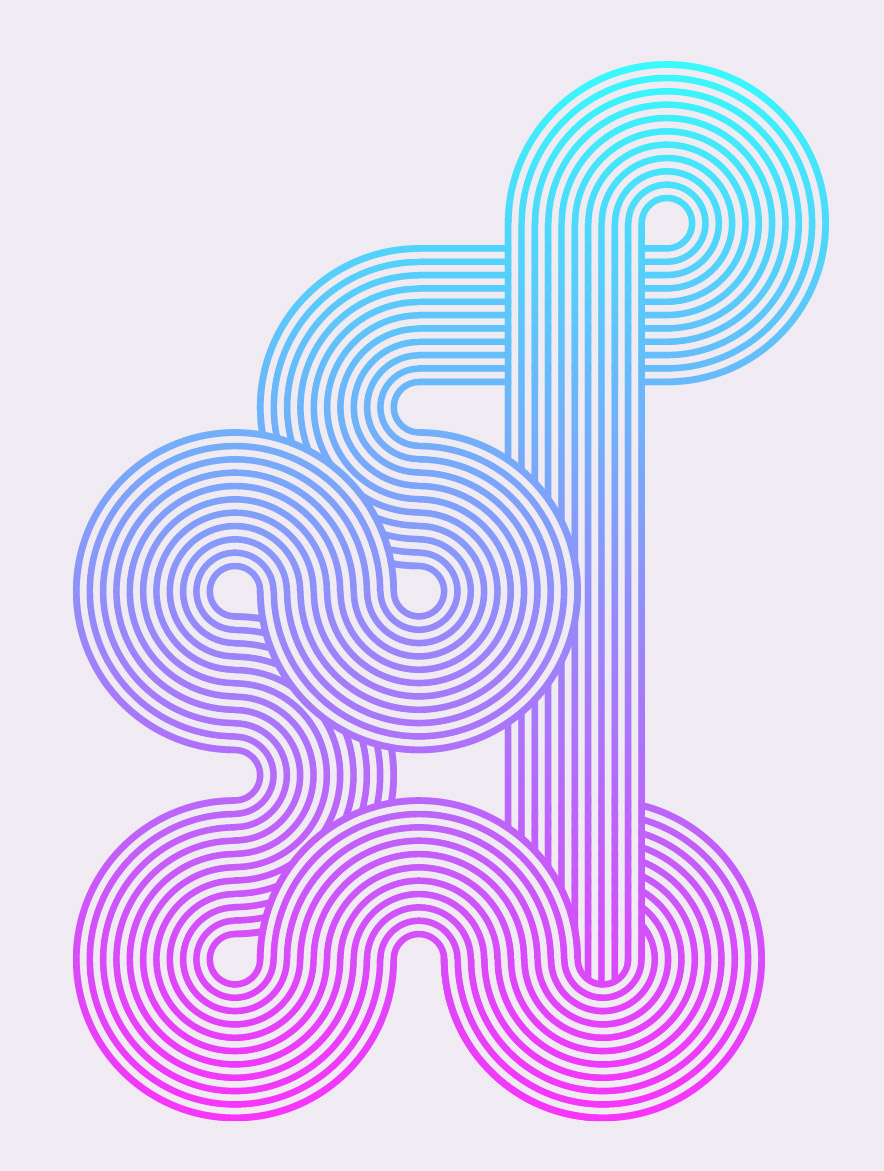
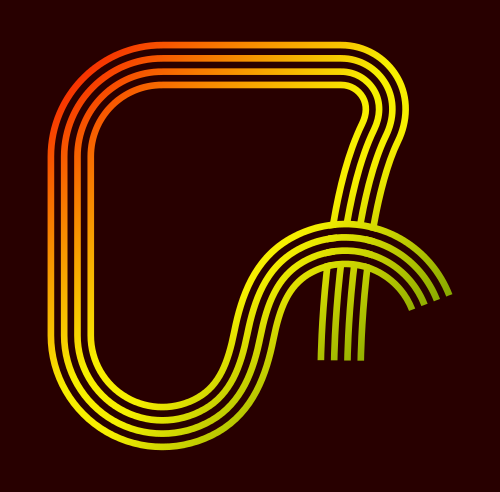
Lazur URH wrote:squiggle.svg
Lazur URH wrote:Or use various stroke widths of duplicants of the same path -the interpolate attribute inside group can come handy.
The overlapping would need to split the core path to sections and playing with the z-ordering.
So in a nutshell, the process can be done as follows:
- draw core path
- make several duplicants of it
- preferably lower the transparency so you can see one through another
- group paths together
- use the interpolate attribute in group to vary the stroke widths,
resulting in even steps between them, with the thinnest on top
(seems that on my quick example the last step is off) - select every second path and give them a different stroke colour, like red
- change back object opacity to 100%
- convert objects to path (in case of spiro path lpe used)
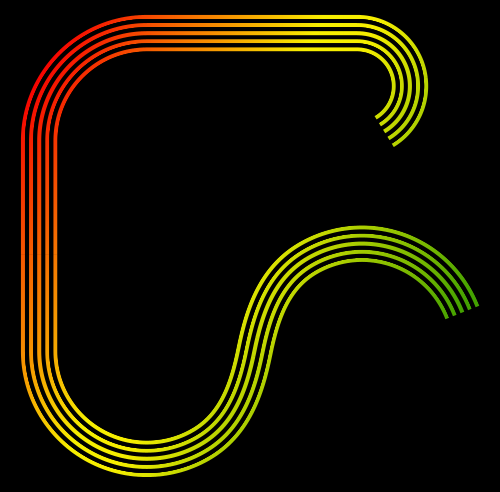
- if you want to make the overlapping effect, select all paths with the node tool,
and use the split node and breaking apart options to "chop" the path into sections - adjust each section's z-ordering to achieve the right look
(by playing with the stroke style, it can be better than in the example) - for an easy way of filling (again, instead what's in the example svg), convert strokes to paths
- draw a rectangle with the desired gradient on top of the image
- cut it (Ctrl+X)
- select all the red filled paths with the find tab
- paste in style (Ctrl+Shift+V)
- similarly add the other paths the fill of the background
Some flaws of this solution:
converting strokes to paths can result in not so clean paths -which is why I didn't do it in that svg-,
On an other hand, if you want to preserve stroked paths it can be a bit complicated.
Would need to group each "sections" paths together, and after pasting in style attribute in the same vein as with the rectangle (draw rectangle with no fill, but stroke this case and add the preferred gradient to the stroke attribute),
the stroke widths should be varied again with the interpolate attribute in group extension as at the start, for each and every section.
Another "problem" is, that the shape is not transparent -just as in that illustrator tutorial, before compositing-, meaning, if you want to superimpose this squiggle over something that would need to show through, you need a different approach for the fill.
Then white and black fills/stroke colours would do the task, after all objects are grouped together,
the group could be used to mask a rectangle with the preferred fill.
Problem with that is pdf doesn't have a good support for masking, nor all browsers would render it right as an svg.
Hope this can make up a clear explanation of the "trick".
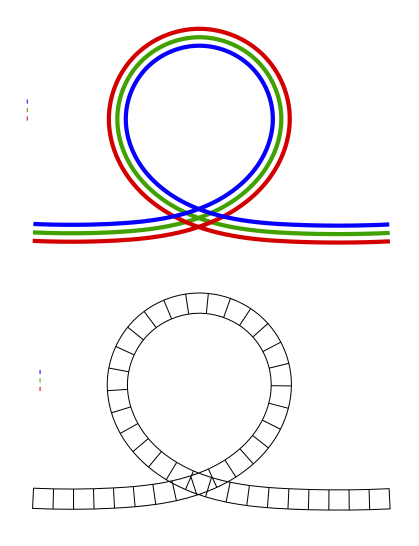
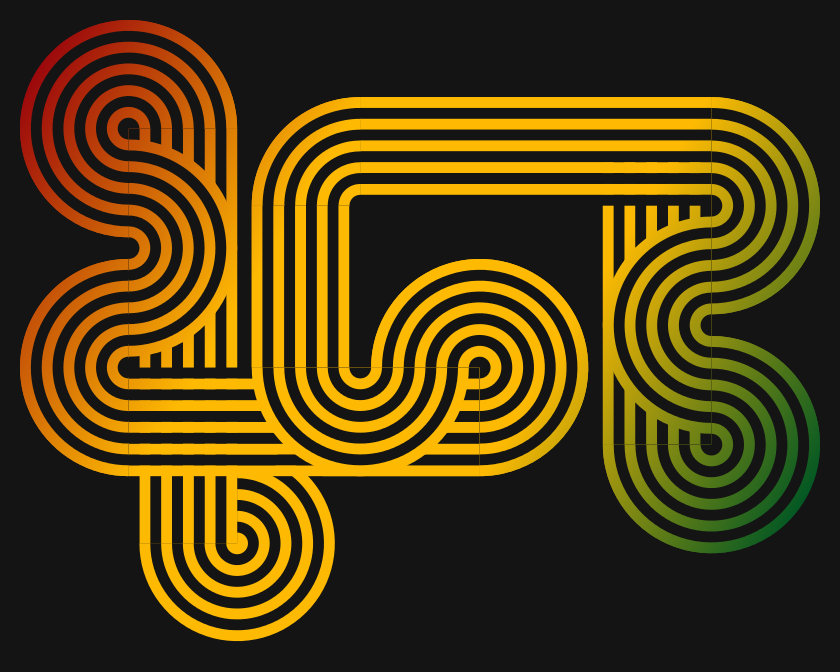
In steps 1.-9. obe way is described, but using other workarounds like the pattern along path or separate circle segments as in the original tutorial would work;
the splitting objects and playing with the z-order is yet another technique on its own -which can be represented well on that knot pattern, similarly as the challenge
example in the manual.
But to be honest, if you draw the shape showing overlaps, represented by one compound path only, it can be the most clean in structure, even though it's much harder to pull off.


